


 Kit
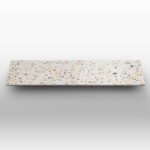
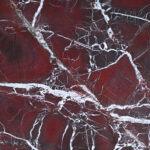
Kit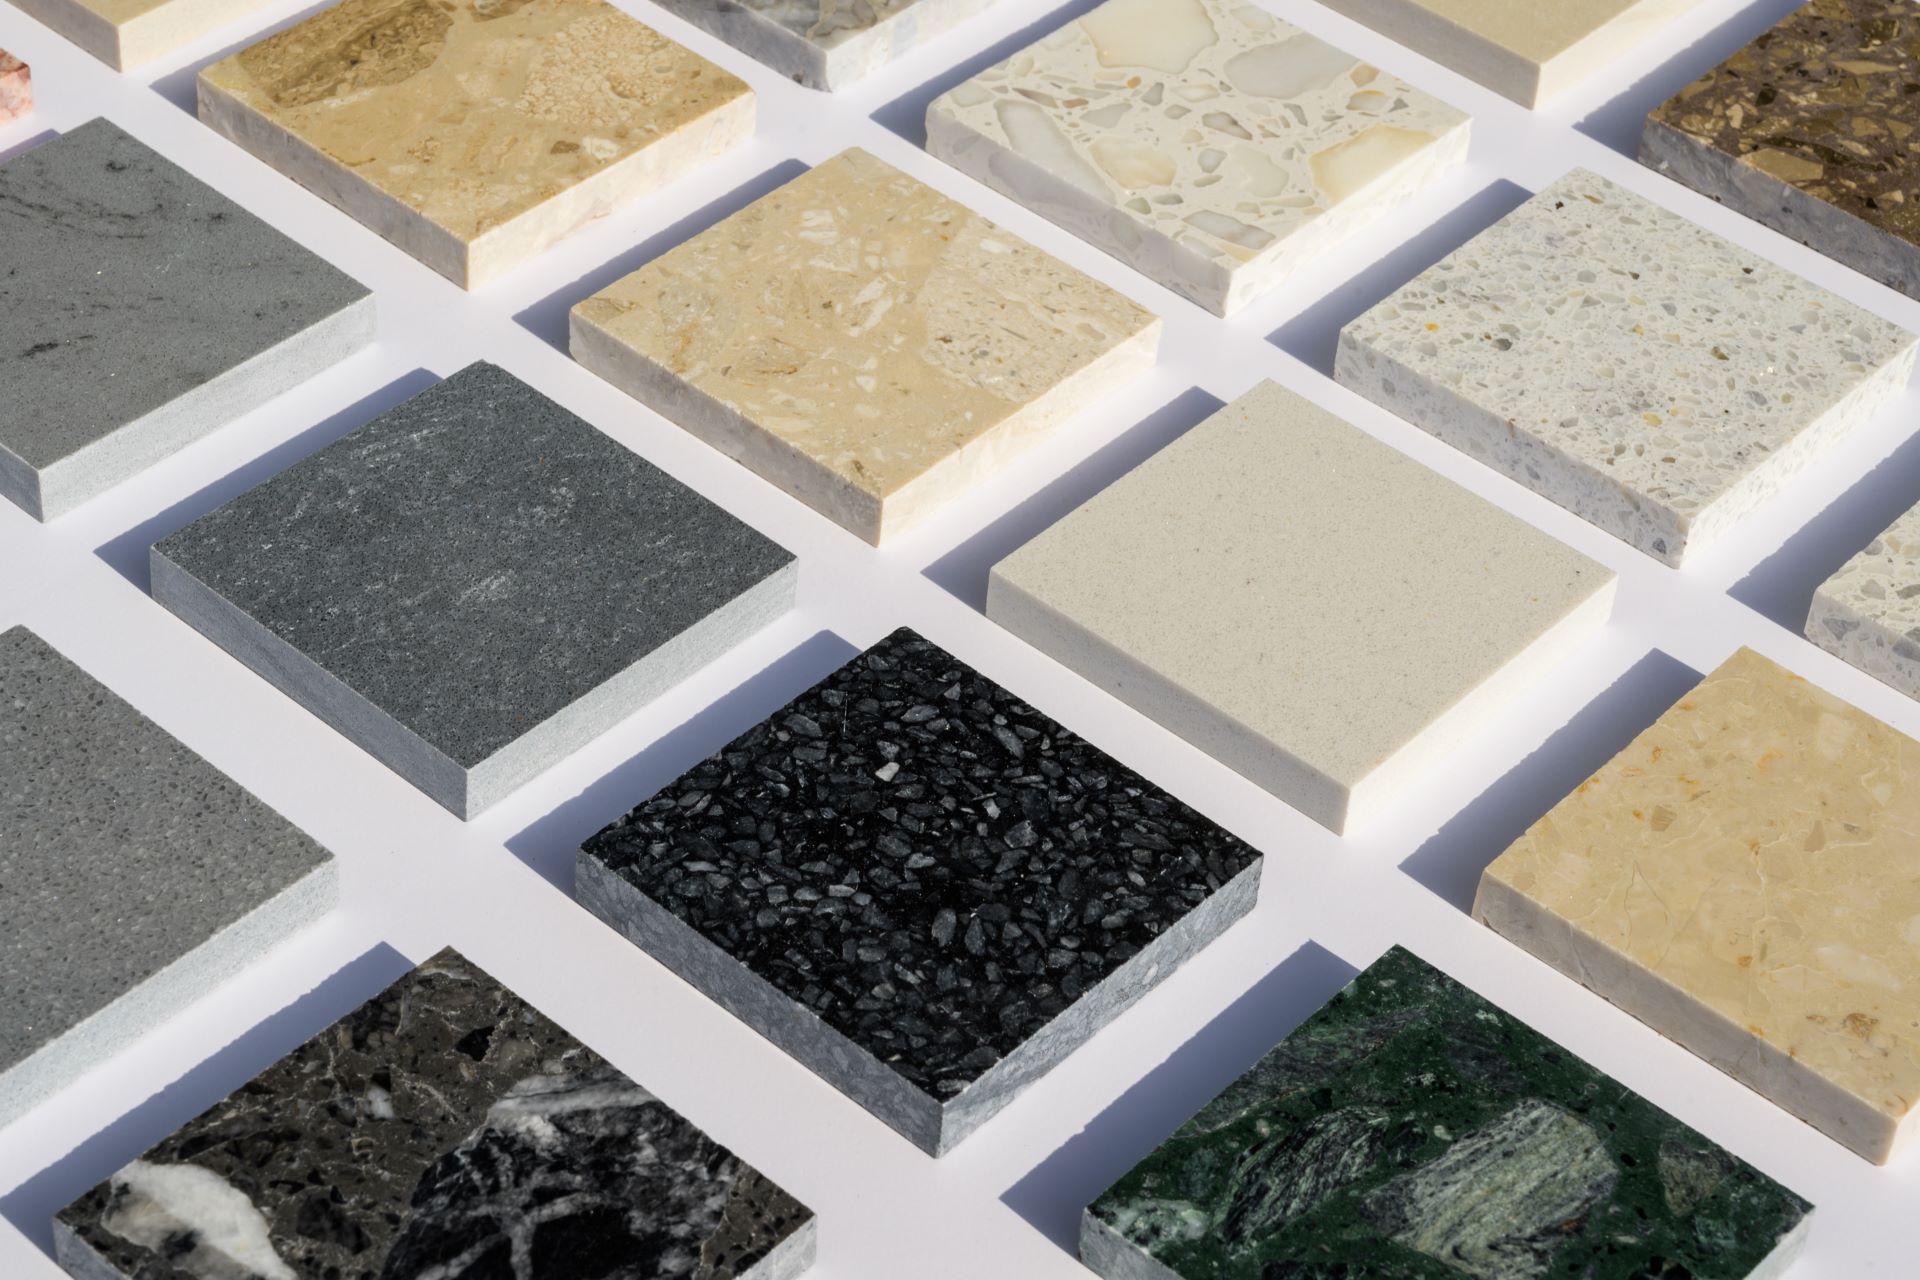 Samples


When choosing a windowsill, a kitchen countertop, or a cladding, attention is often focused on the material. In reality, it is the workmanship that determines how that element will perform over time and how it will look once installed
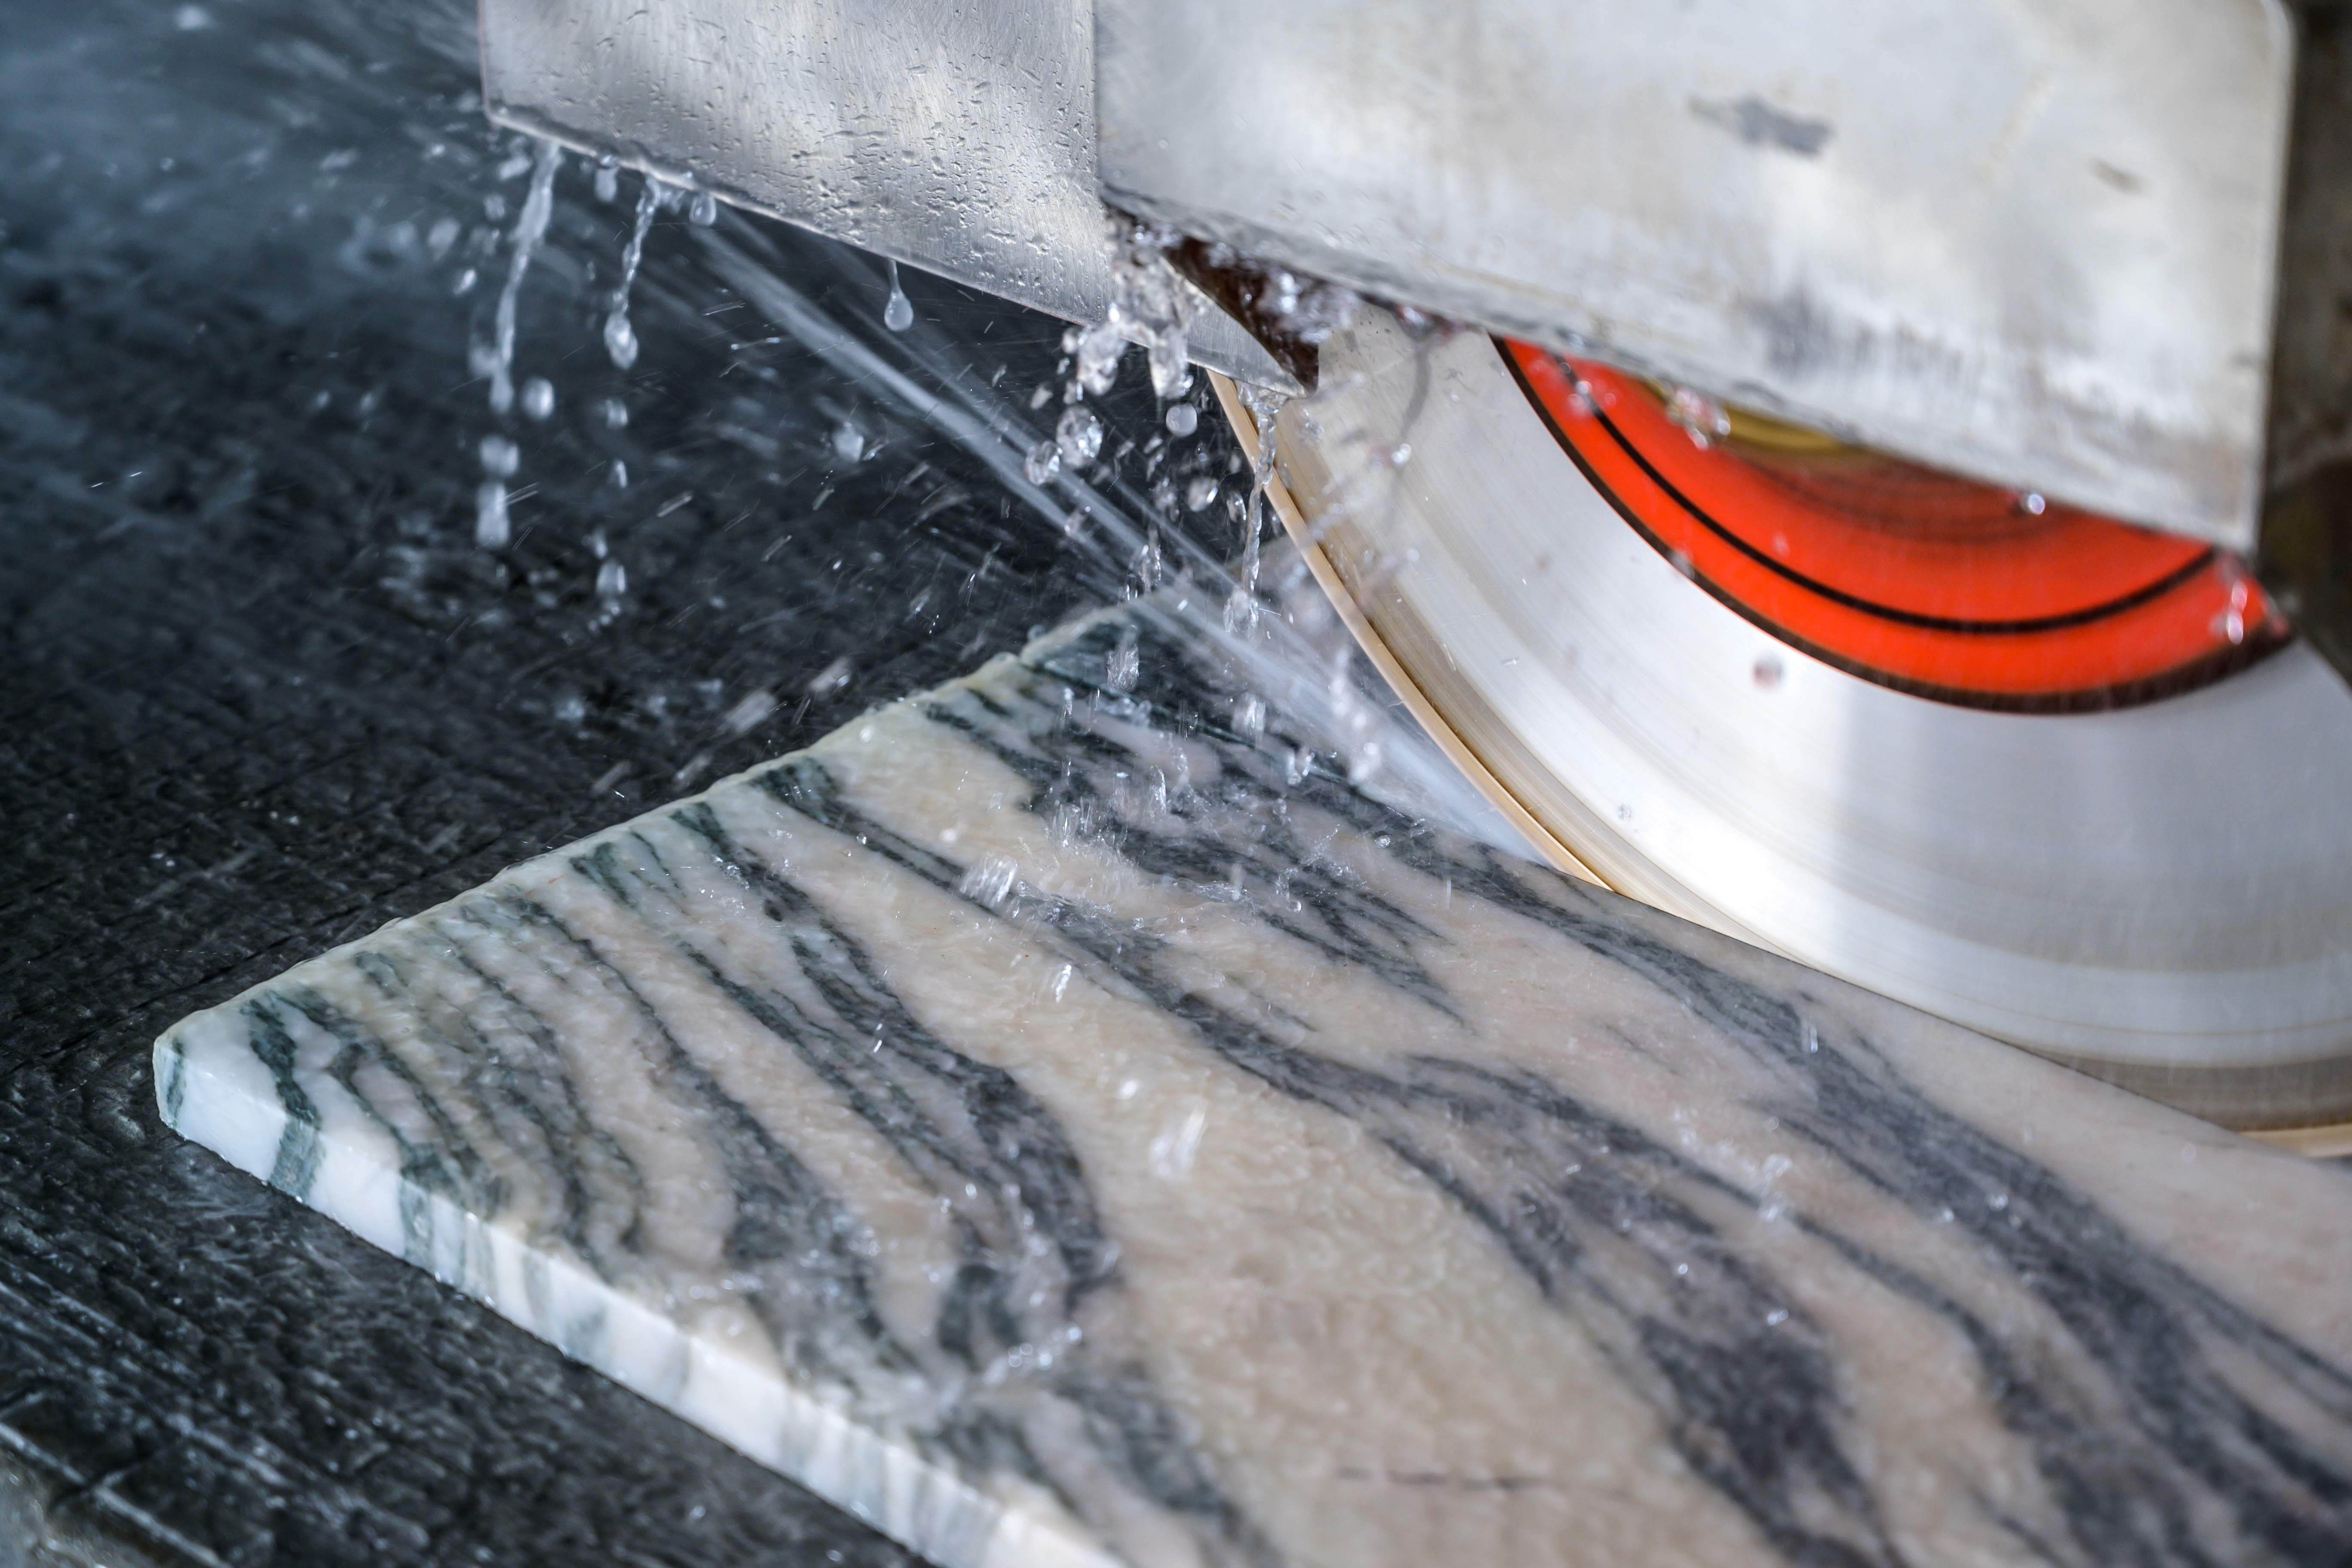
Workmanship is not simply a decorative detail, but directly affects functionality, durability, and the overall quality of the product. Understanding it means making a truly informed choice.
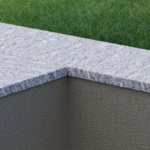
Drip groove
The drip groove is an incision made on the underside of the windowsill. Its function is to interrupt the flow of rainwater, preventing it from running down toward the wall below.
Beyond its protective role, it represents a design choice that directly affects the overall quality of the installation. In outdoor environments, constant exposure to weather conditions requires solutions that properly manage water drainage. The drip groove meets this need, helping preserve the aesthetic appearance of the wall and façade plaster over time.
It is a crucial process for preventing future corrective interventions. Including it from the beginning helps avoid moisture-related issues and keeps the façade in the best possible condition.

Lapels
Lapels are required when the windowsill extends beyond the wall line and its side ends remain visible. In these cases, it is not sufficient to finish only the front edge; the sides must also be worked to match the other visible surfaces.
The presence of returns allows the windowsill to be properly closed on the sides, preventing exposed areas from appearing unfinished or rough. This choice directly affects the quality of the final result.
Providing lapels means adapting the ends to the actual wall configuration and correctly completing the installation.
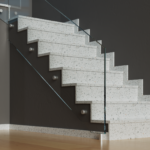
Visible head
The visible head refers to the short sides of an element, such as a riser or wall cover, when they are fully visible in their final position. In these cases, they cannot be left with the simple production cut but must be finished like the other exposed parts.
This process is particularly important when the element is not installed between two walls or when one or more of its short sides remain exposed. An unfinished end would reveal the slab section, compromising the visual balance of the project.
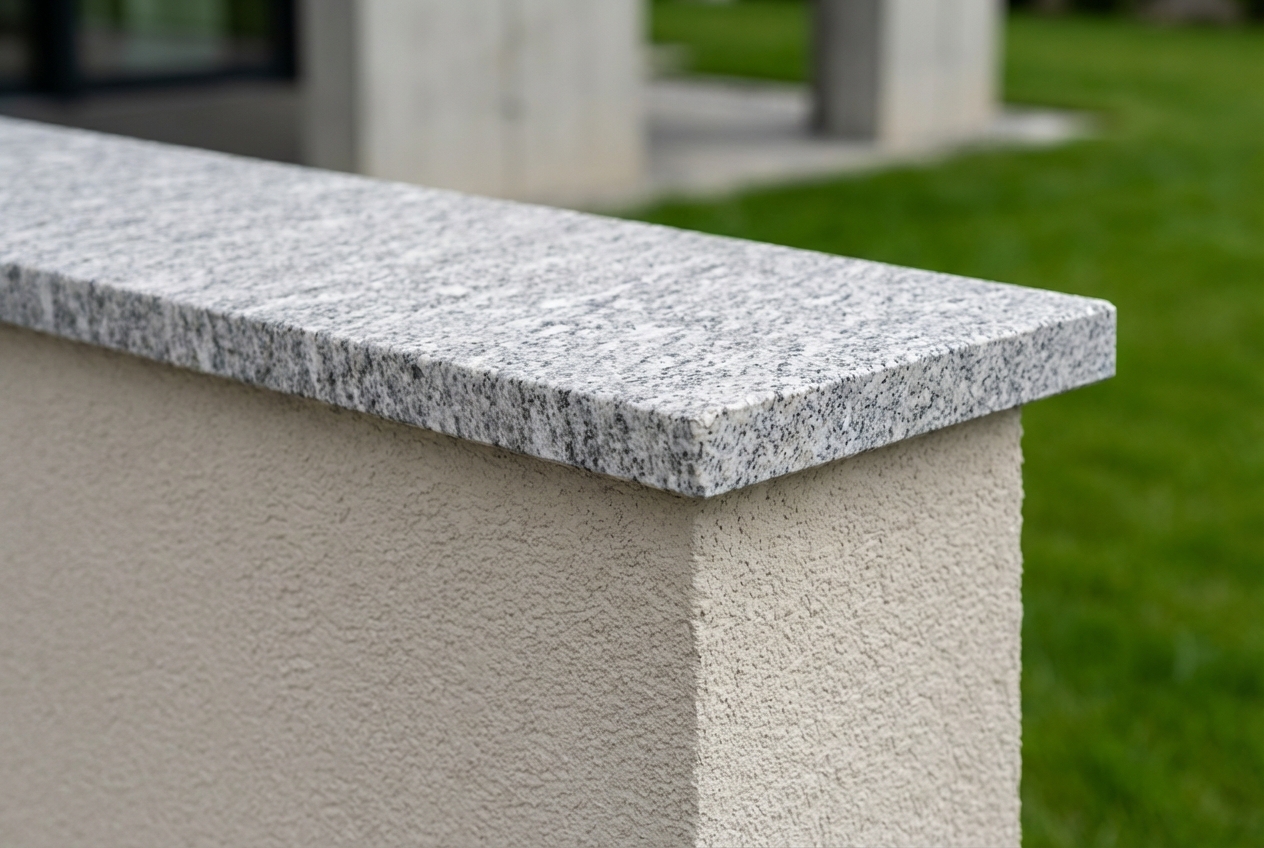
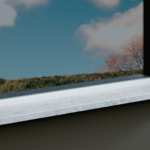
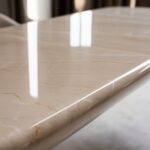
Beveled frontal edge
The beveled frontal edge refers to the finishing of the visible edge of the windowsill or countertop. When the front side remains exposed, it cannot be left with the raw production cut but must be finished to ensure a clean and consistent result with the rest of the surface.
Almost all natural materials change, sometimes significantly, during the polishing and honing process. Leaving edges raw and unfinished would create an aesthetic contrast that is not appropriate for a product that has represented an architectural hallmark since ancient times.
This process is not purely aesthetic. The chamfer softens the edge, eliminates the sharp cut effect, and makes it more practical for everyday use. A properly finished surface tends to retain less dirt and is easier to clean.
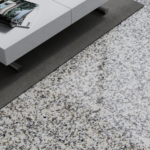
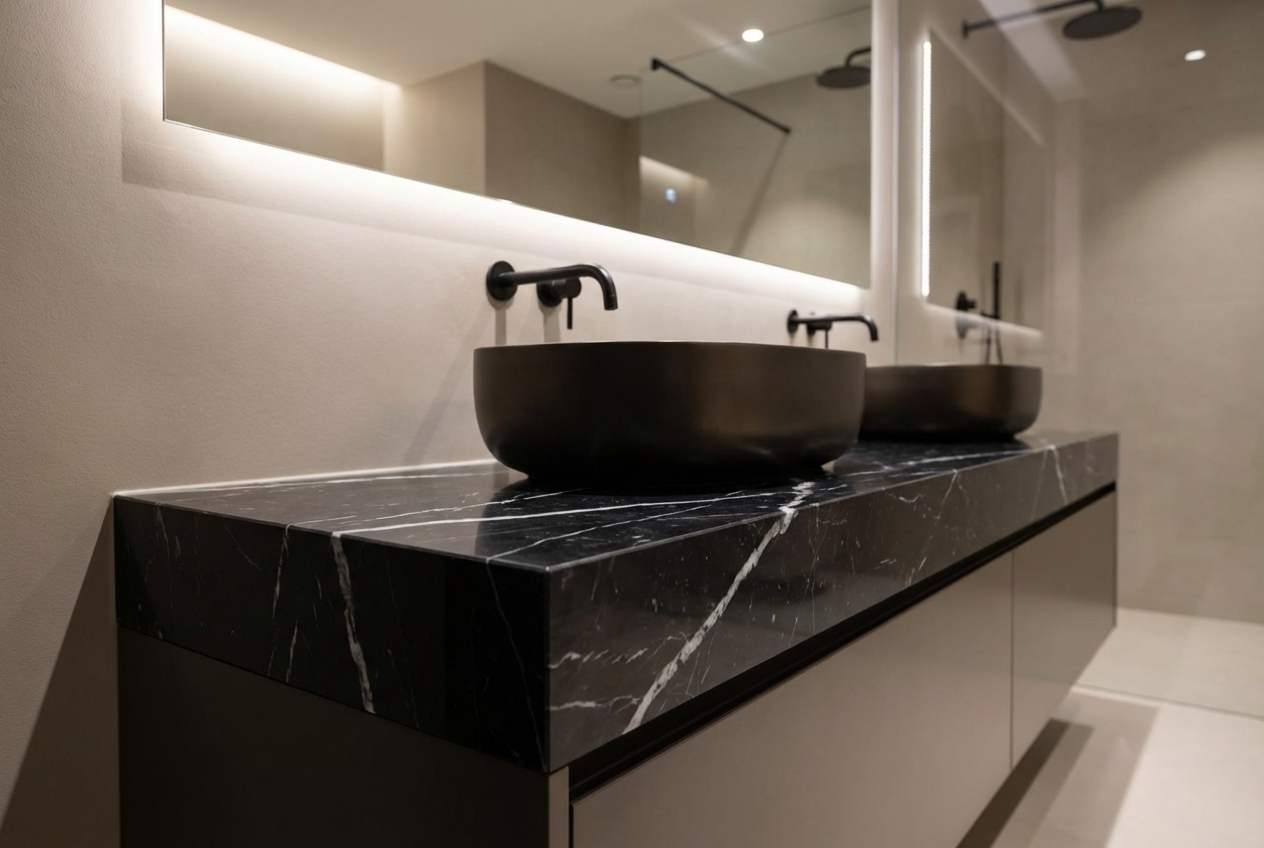
Exposed edge (bathroom and kitchen countertops)
The exposed edge of a bathroom top or kitchen countertop refers to one or more sides that remain visible after installation because they are not placed against a wall. In these cases, the edge must be finished according to the chosen configuration, which may include chamfers or specific finishes.
This process, typical of furnishing elements, also includes polishing or honing the first centimeters of the underside, known as the “sub-edge.” This production detail prevents accidental contact with a rough, unfinished stone surface and ensures a more refined and elegant result.
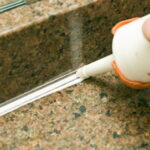
Power socket hole
Power socket hole is an opening made in the countertop or kitchen backsplash to allow the installation of an electrical outlet.
It is a functional cut, made with dimensions suitable for inserting the electrical support. This process does not involve the electrical system itself but prepares the material for the subsequent installation of the outlet.
It is a useful solution when electrical points need to be integrated directly into the cladding or backsplash.
Holes for hobs and sinks
Holes for hobs or sinks are made directly in the kitchen or bathroom countertop. The type varies depending on the installation system chosen.
Above-counter hole
This consists of a cut-out designed to leave space for the insertion of the hob or sink, which rests on top of the countertop. This is the simplest solution from an execution point of view, as well as the most economical, since it does not require any finishing of the cut edge.
Flush hole
This requires more complex work, with a double cut that creates a dedicated recessed seat. This allows the induction hob or sink to be installed at the same level as the surface, without any visible differences in height.
Under-counter hole
This is a specific process for installing the sink under the countertop. In this case, cutting and then inserting fixing bushings for the screws (normally supplied with the sink) allows the sink to be anchored to the underside of the countertop, which is not visible. This also means that the edge of the cut hole is perfectly finished to match the countertop itself, remaining completely visible.
The choice between these solutions depends on the type of appliance or sink and the desired aesthetic result. Correctly configuring the hole when ordering is essential to ensure compatibility and precision during installation.
Each washbasin has completely different technical and installation specifications, which is why it is essential to upload or send all the technical data sheets available when ordering in order to obtain a finished product that complies with the desired design.